Key Takeaways
- A usable seating zone in a small yard needs real furniture dimensions as its starting point, not a guess: a dining table for four with chairs pulled out takes 12 feet by 10 feet minimum, which helps you decide if you have the space or need a different idea.
- An L-shaped wrap around a corner, floating disconnected pads, and stacked levels on a slope all solve the problem of odd lot shapes and tight access, turning a constraint into the layout rather than fighting it.
- Edge detail, darker colours, and wider joints make a small slab feel intentional and read larger, while a bland grey rectangle with narrow joints looks like it ran out of room before it got anywhere.
For the full landscape of outdoor concrete surfaces beyond patios, see the outdoor concrete guide, which covers walkways, steps, pool decks, and how each surface differs in spec and use.
Sizing a real seating zone to actual furniture dimensions
The most common mistake in small-yard patios is designing a space that looks reasonable in a sketch but turns out to be too tight for a table and chairs once they're actually sitting on it. A four-person dining table is roughly 36 inches wide and 48 inches long. With chairs, you need two feet of clearance on the short ends and one foot on the sides so people can sit and stand without hitting the table's legs. That's 12 feet long by 10 feet wide as a floor footprint, minimum.
If your entire yard is 20 by 25 feet, a 12-by-10 dining patio eats half of it. That's the honest constraint you're working with. Some yards have the room and the shape for it; many don't. If a full seating zone won't fit without cramping the rest of your outdoor space, that's the signal to use one of the other ideas below rather than forcing it and ending up with a patio that's too tight to use comfortably.
A conversation grouping is smaller: four chairs facing each other in a rough square, with side tables, fits comfortably in 8 feet by 8 feet. If you want the option to add a side table for drinks or a small grill, add another 18 inches in depth. Mark those dimensions out on the ground with string before pouring, and actually sit in a chair on that footprint. Uncomfortable sitting translates to an expensive patio nobody uses.
For sizing and designing a patio in concrete patios in Waterloo, local setback rules and soil conditions shape what's possible on your lot, so starting with a conversation before you draft the footprint is worth the time.
The L-shaped wrap: using corners and lot lines, not fighting them
An L-shaped patio wraps around a corner of the house or yard, making use of the edge where two lot lines or building faces meet. Instead of a single rectangular slab in the middle of the yard, you're hugging the perimeter, which gives you two smaller usable zones instead of one cramped one.
A typical configuration: 12 feet along one side of the house, 10 feet deep, then a 10-foot extension out along the side lot line. You've gained a transition zone and a sheltered corner where wind hits differently, without spending more per square foot than a straight rectangular pour. The joint between the two arms can be a simple straight cut or a 45-degree miter where they meet, which costs more in forming labour but reads as intentional rather than makeshift.
The constraint this solves is a long, narrow lot: you're not trying to span the full width, you're working with the shape as it is. Wrapping the house also creates a visual flow from one outdoor room to another, which works psychologically even in a small space because you're no longer standing in the middle of a rectangle looking at all four edges at once.
If your lot narrows at the back or has an unusual shape, the wrap becomes less about style and more about the only layout that actually fits without waste. That's not a constraint, that's a solution.
L-shaped wraps are common solutions in concrete patios in Hamilton where lot shapes are irregular, and the joint work becomes simpler when you're following the natural edges rather than fighting them.
Floating pads with planted joints: breaking the slab into zones
Instead of a single poured slab, floating means two or three disconnected concrete pads, each sized to a specific use, with soil and plants in the gaps. This works in small yards because it visually breaks up the footprint while using less concrete per zone, and it gives you design flexibility if one area gets more shade or needs a different slope for drainage.
A typical small-yard floating layout: an 8-by-10 dining pad adjacent to the house, a 6-by-6 lounge pad eight feet away, with a gravel or planted path connecting them. The gap between pads is 18 inches to 2 feet, planted with low perennials, dwarf conifers, or shade groundcover depending on sun exposure. The pads are poured with the same base prep, reinforcement, and finish as a single slab, but the planting breaks up the visual weight and can soften the overall look.
The practical benefit is drainage and maintenance. Each pad can be sloped independently to route water the right way. You're not pouring one massive grid of control joints, so the joint pattern is cleaner. If one pad settles unevenly, it doesn't crack a 20-foot span; the gap handles the movement. And if a tree grows up next to one pad in five years and you want to tear it out and replant, you're not demolishing the whole surface.
This idea works especially well on tight lots where every inch counts and you want visual interest without the cost of stamps or coloured concrete. The plantings do the design work.
The drainage aspect is critical: each pad in a floating configuration needs its own slope away from the house. For the full breakdown of how grading works and why a misstep toward the foundation becomes expensive, see patio grading and drainage.
Stacked levels on a sloped yard: turning elevation into usable zones
A yard that slopes significantly can be a nightmare for a single flat patio, or it can be an advantage if you lean into the slope and create two or three levels instead of fighting the grade with massive infill or cutting and removal.
A typical two-level setup on a yard with, say, a 3-to-4 foot drop from back to front: a 10-by-8 upper dining pad at the back near the house, a 4-to-5 inch step down, then a 10-by-10 lower lounge pad closer to the yard's front edge. The step is one or two concrete treads, part of the single pour. From the house, you step down onto the lower zone, which feels larger because of the elevation drop and the wider view toward the street or alley.
The constraint this solves is wasted excavation and fill. Instead of digging out half the yard to create a flat plane, you're pouring on the natural grade, using it as a design feature. The cost is usually comparable to a single-level pad on flat ground, because you're doing less dirt work even though the concrete is more involved.
The risk is misstep and drainage. Riser height and tread depth for the step have to meet the Ontario Building Code minimums for exterior stairs, and those minimums differ depending on how many dwelling units the stair serves, so don't guess at the numbers, confirm the current figures with the crew or the local building department before forming. The upper pad also has to shed water toward the lower pad, not into the house. Plan the slope direction before forming, and make sure the step detail doesn't become a water trap where the upper slab meets the lower one. A properly built joint with adequate slopeaway handles it fine, but a flat joint will hold water every time it rains. If you're planning concrete patios in Kitchener on a sloped lot, talk through the step geometry and drainage direction with the crew before forming, since local frost depth and lot grading rules affect the footing.
Edge and finish: making a small slab read intentional
A small concrete patio can look cramped if the edges are plain and the colour is flat. Two details shift the perception: the edge profile and the material choice.
A plain concrete edge is literally just the poured edge of the slab, usually slightly rounded during forming or afterwards with a stone grinder to avoid a sharp corner. For a small patio where the edges are visible from every angle, a deliberate edge detail reads better: a 4-to-6 inch border in a darker shade (an integral colour or a different mix), a reveal or shadow line cut into the surface, or a textured edge band where the finish changes from broom to exposed aggregate.
The finish itself matters. A uniform broom finish is the value option, but on a small slab where every square foot is on display, a darker colour or exposed aggregate finish on the main field draws the eye outward and makes the slab feel more intentional. You're not hiding the small size, you're declaring that this is a properly finished piece, not a leftover rectangle.
Tooled-joint width is another small detail with outsized impact. A hairline joint, barely visible, reads as nearly seamless, which makes a small slab look even smaller because the eye scans it as one flat shape with nothing to break it up. A wider tooled or raked joint, cut deeper and left visible as a deliberate line, breaks the surface into panels, creates shadow, and makes the slab read as a composed surface rather than a failed attempt at something larger. We size the joint pattern to the slab, not the other way around, on jobs where the yard is small enough that every panel is visible from the seating area.
If you want the colour and texture options, read the detailed guide to colour and stain methods for outdoor concrete to understand the trade-offs on durability and maintenance.
Access constraints: getting the slab in when there is no side path
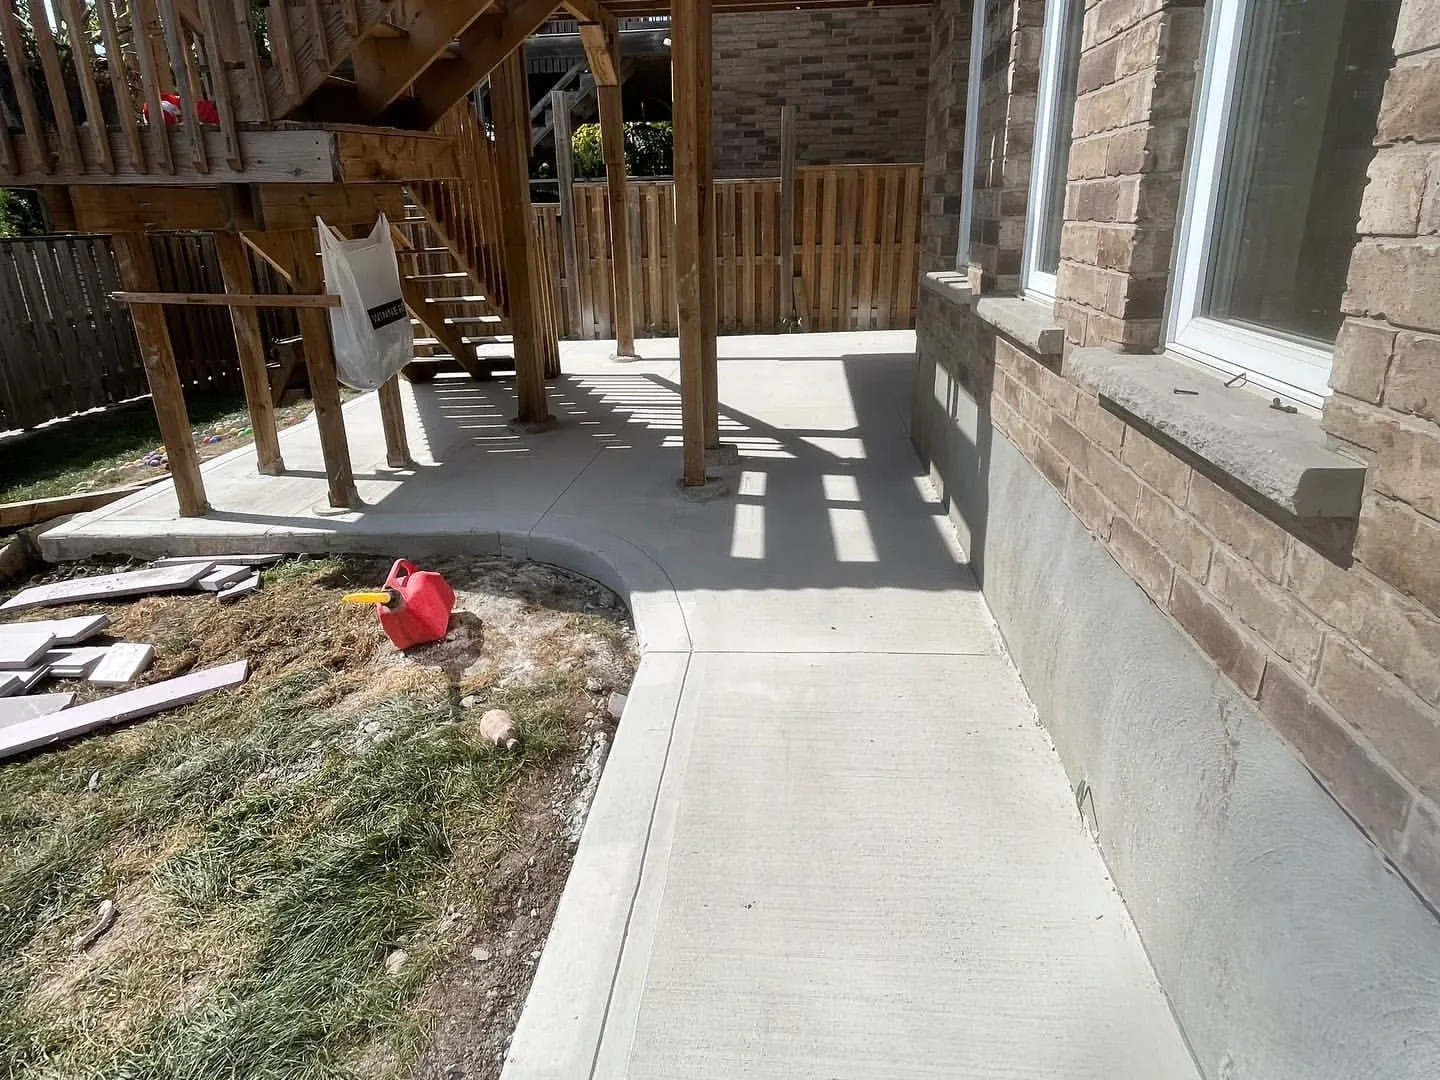
Small yards often come with small access: a gate that's barely four feet wide, a gap between the house and a fence that narrows before you reach the backyard, or no access from the alley at all. A concrete crew pouring a 10-by-20 patio needs to get the concrete truck and equipment back there somehow.
If there's no direct access, three options cover most tight lots:
- Pump the concrete over the house. Expensive, typically $2,000 to $4,000 extra, but it moves the whole pour in one go regardless of what's between the truck and the yard.
- Hand-bucket it in small batches. Slow and labour-intensive, usually adds $1,500 to $3,000 depending on distance, but it works through gates and gaps a pump truck can't.
- Redesign the patio in phases. The first pour fits through the available gate, and a second pour later expands it if the access constraint gets resolved.
The practical choice for a permanently tight lot is usually the hand-bucket approach on a two-phase plan: pour a 6-by-8 zone first, using smaller concrete batches that a team can move by wheelbarrow through the narrow access, finishing the surface and letting it cure. Then later, if the access doesn't improve or isn't worth solving, you have a finished patio. If access opens up (a gate gets replaced with a wider one, or you remove a fence section temporarily), a second pour of the same finish and thickness can be bonded to the first with proper joint preparation, creating a visually unified larger slab.
Budget the access constraint into the project estimate before you commit. A surprise access problem halfway through a pour is the most common reason patio projects go sideways.
Conclusion
Small yards aren't a limitation on concrete patios, they're just a different set of constraints than a wide-open lot. Working with those constraints instead of fighting them, and designing for the actual furniture or use rather than an arbitrary square-footage target, turns a tight space into one that works. The finish and edge detail then make the small size read as intentional craft rather than a compromise.
Whether you're wrapping a corner, floating disconnected pads, stacking levels, or sizing a single compact seating zone, the honest approach is the same: measure twice, sit in a chair on the footprint, and make sure the space you're pouring is actually usable for the people who will be on it.
A small yard rewards a plan that's specific to its actual dimensions and constraints, not a template pulled from a much bigger lot next door.