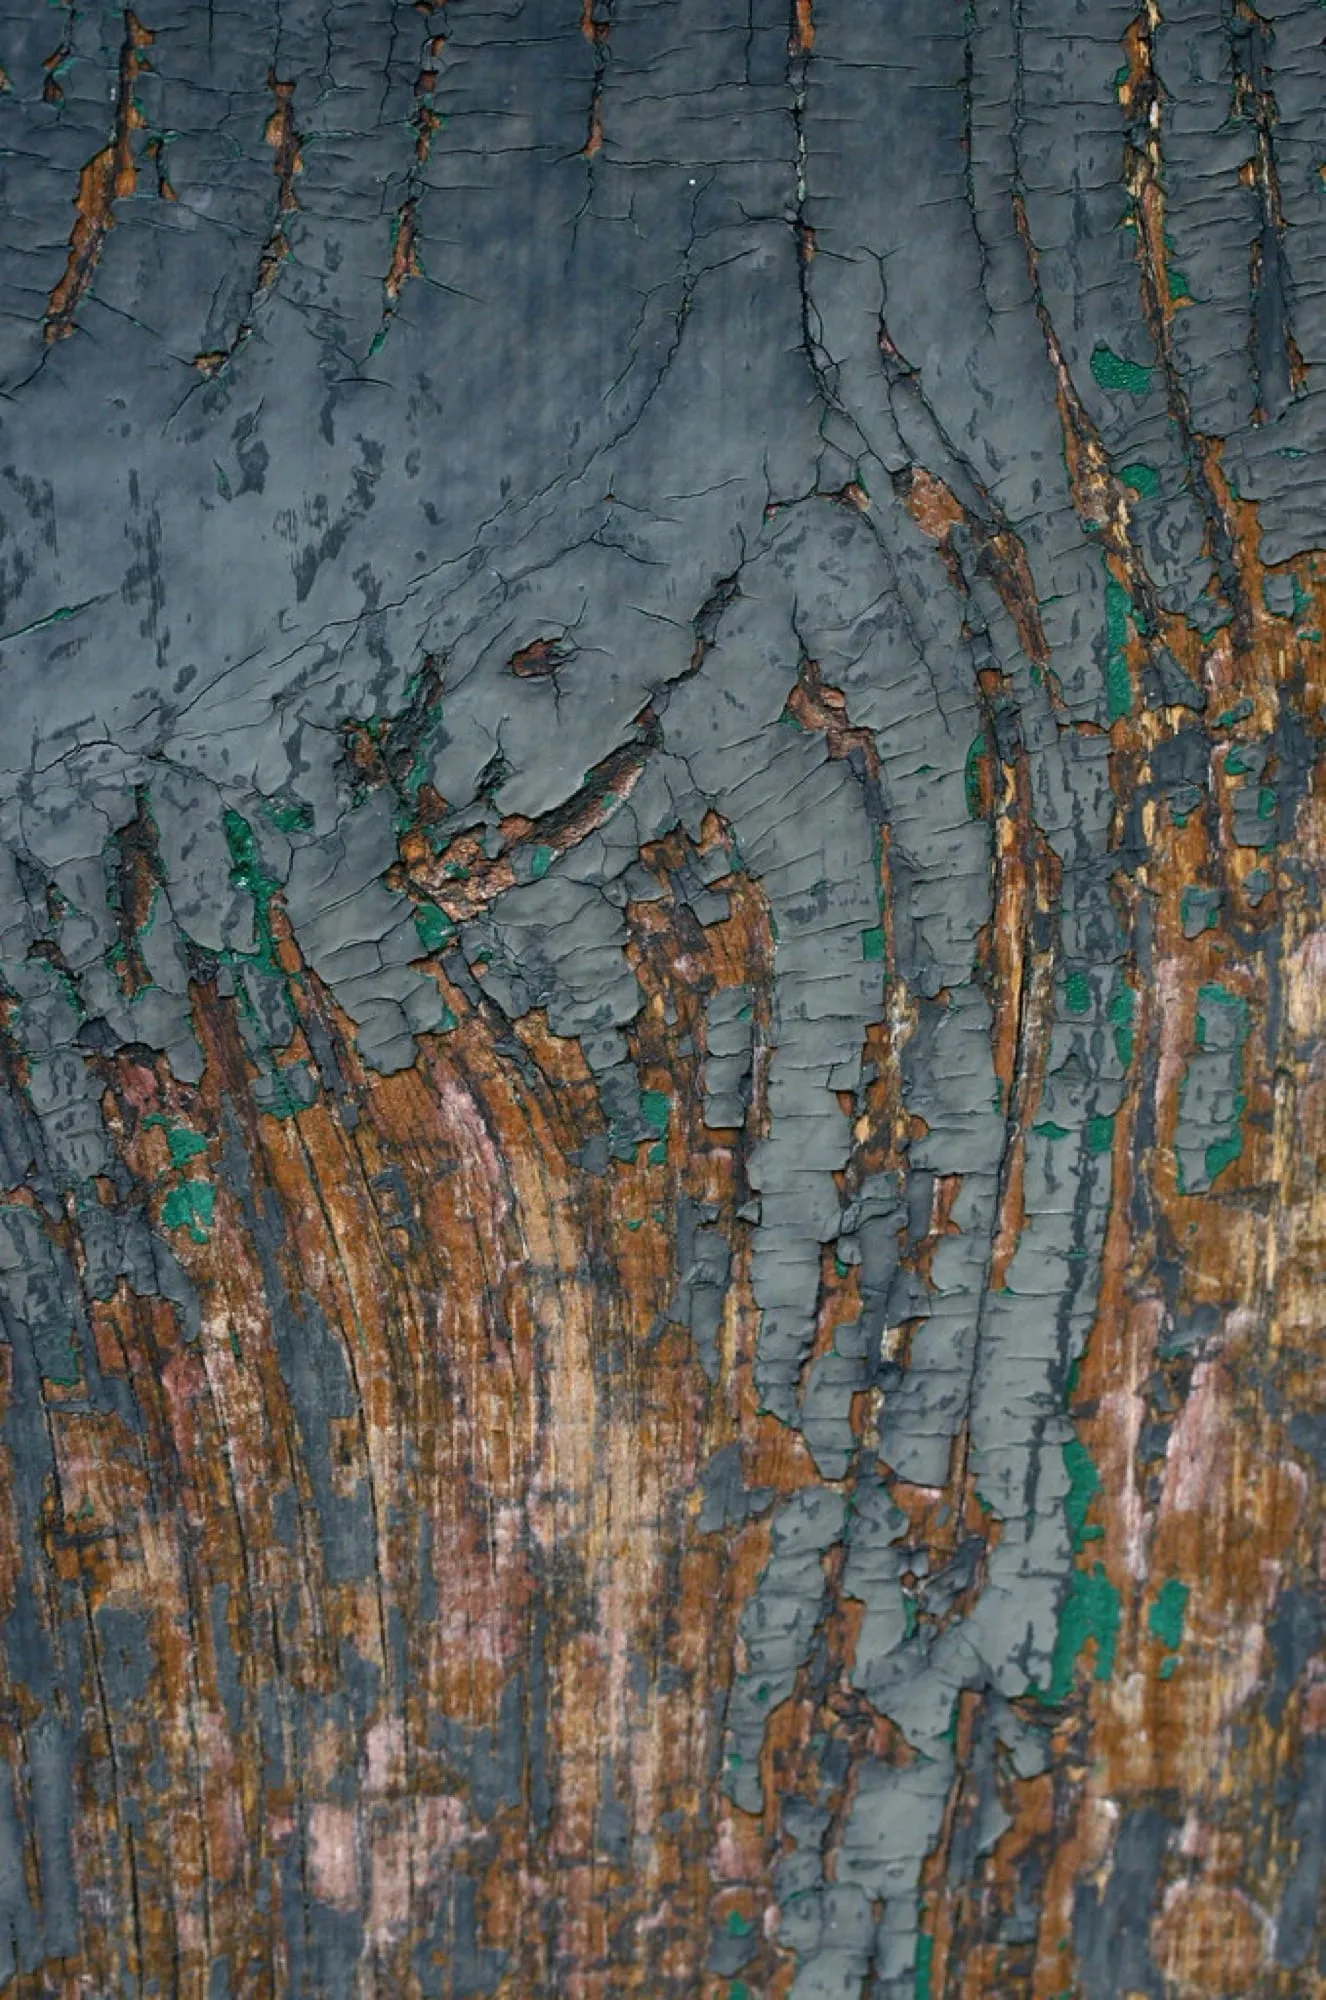
Key Takeaways
- Poor surface preparation is widely cited across the coatings industry as the single biggest cause of paint failure, with estimates ranging from roughly 75 to 85 percent of coating failures traced back to it rather than to the paint itself (Materials Analytical Group, retrieved 2026-09-04). That's an industry estimate repeated across multiple sources, not a single controlled study, but it lines up with what shows up on repaint jobs.
- Both Sherwin-Williams and Benjamin Moore name the same short list of prep failures behind peeling and cracking: painting over an unwashed or greasy surface, skipping the sand step on glossy trim, and applying topcoat over bare wood or a patched area with no primer underneath (Sherwin-Williams surface preparation guide, retrieved 2026-09-04; Benjamin Moore, cracking and flaking paint, retrieved 2026-09-04).
- A properly prepped and applied exterior paint job commonly runs seven to ten years before it needs redoing. Skip the prep steps and that interval can drop to three to five, not because the paint aged badly, but because it was never properly bonded to what's underneath it (CertaPro Painters, retrieved 2026-09-04).
- The order matters: clean first, then sand, then patch and let it dry, then prime bare and patched areas, then caulk gaps. Doing these out of order (caulking before the gap is clean, priming before patching compound has cured) undoes the step that came before it.
Most paint jobs that fail early get blamed on the paint. The homeowner assumes they bought a cheap can, or that the colour they picked doesn't hold up, or that the painter rushed the topcoat. Almost none of that is usually true. The paint itself is rarely the weak point. What's underneath it is.
Paint doesn't fail by falling apart on its own. It fails because it was asked to bond to something it couldn't grip: a glossy surface that was never sanded, a wall that still had kitchen grease or dust on it, bare drywall or wood that never got a coat of primer first. Every one of those is a surface prep problem, and every one of them is fixable before the first coat goes on, not after.
Why "the paint failed" is almost always a prep problem
The coatings industry doesn't have one universal number for this, but the range that keeps coming up from multiple sources, cited by coatings analysts and materials-testing firms, puts poor surface preparation behind somewhere between 75 and 85 percent of all coating failures, well ahead of the paint product itself (Materials Analytical Group, retrieved 2026-09-04). That figure comes out of industrial and protective-coatings literature, not a residential-paint-specific study. It's repeated often enough across the trade that it should be read as an industry consensus estimate rather than a single hard number. Even taking the low end of that range seriously, it says the same thing every painter already knows from experience: most paint jobs that peel, crack, or flake did so because of what happened, or didn't happen, before the brush or roller ever touched the wall.
Benjamin Moore's own troubleshooting guide backs this up in plain terms. Their listed causes of cracking and flaking paint start with "poor surface preparation, especially when the paint is applied to bare wood without priming, or to previously coated surfaces that show signs of cracking or flaking paint" (Benjamin Moore, retrieved 2026-09-04). Sherwin-Williams' surface prep guidance is just as direct about glossy surfaces specifically: "glossy surfaces must first be washed clean and then sanded to allow the paint to grip the surface," and bare or patched areas need to be primed before the topcoat goes on (Sherwin-Williams, retrieved 2026-09-04). Two of the largest paint manufacturers in North America are describing the exact same failure pattern, and neither one is talking about the paint formula.
The five prep steps, and why the order isn't optional
Surface prep isn't one task. It's five, and doing them out of sequence quietly cancels out the one before it.
1. Clean and degrease first
Dust, cooking grease near a kitchen, hand oils around light switches and door frames, chalky residue on old exterior paint, general grime on a wall that hasn't been touched in a decade. All of it sits between the old surface and the new paint unless it's washed off first. Sand a dirty surface and you've just ground the dirt into a finer layer still sitting on top of the substrate. Prime over it and the primer bonds to the grime, not to the wall. This step has to come first because every step after it depends on starting from a clean surface, not a dirty one with sanding dust on top.
2. Sand glossy and previously painted surfaces
Cured gloss and semi-gloss paint is smooth and hard almost by design, which is exactly why new paint struggles to grip it. Sherwin-Williams' guidance is unambiguous here: "sand glossy surfaces dull" before repainting, whether that's kitchen cabinets, trim, or a door that was last painted in high-gloss enamel (Sherwin-Williams, retrieved 2026-09-04). A light scuff-sand with a fine-grit sanding sponge, enough to knock the sheen down without cutting through to bare material, gives the new coat something to physically key into. Skipping this on trim is one of the most common reasons a "freshly painted" baseboard or door starts showing scuffed-off paint at hinges and high-touch points within a year. It should be lasting a decade.
3. Patch, then let it fully dry and sand it smooth
Nail holes, drywall dings, and cracked caulk lines all need to be filled before anything gets painted over them, but the patch itself has its own cure time that a lot of rushed jobs skip. Wet or half-dry patching compound painted over too soon will shrink slightly as it finishes drying, leaving a visible dip or a hairline crack around the edge of the repair, right through the new paint. Once it's fully cured, it needs to be sanded flush with the surrounding surface so the patch doesn't read as a shiny or texture-mismatched spot once paint goes on. This is also where a lot of interior jobs quietly turn into a bigger project than planned. Patched drywall almost always needs primer on the patch specifically, even if the rest of the wall doesn't, since compound absorbs paint differently than the surrounding painted surface.
4. Prime bare or repaired surfaces
Primer isn't a thinner first coat of the same paint. It's a different product designed to bond to bare or porous material and give the topcoat a consistent surface to grip, and it matters most exactly where the surface has changed: bare wood, new drywall, a sanded-through spot, or a patched area. Benjamin Moore's fix for surface-level cracking spells this out directly: scrape and sand the damaged area, then "prime any bare spots" before the surface gets repainted (Benjamin Moore, retrieved 2026-09-04). Skipping primer on a patch is a common shortcut on a tight schedule, and it's usually invisible until that one patched spot flashes a slightly different sheen once the topcoat has dried, or peels there first.
5. Caulk gaps last, after everything else is clean and dry
Caulk goes in the gaps between trim and wall, at window and door casings, and along siding joints. It needs to go on after cleaning and sanding, not before, because caulk applied over dust or old flaking paint won't bond any better than paint would in the same spot. Left uncaulked, those same gaps let water track behind the paint film at the exact seams where two materials meet. Once moisture gets behind paint from the back side, the paint blisters and lets go, and the wood underneath can start to rot before anyone notices from the outside (Pearl Painters, caulking and repairing exterior surfaces before painting, retrieved 2026-09-04). Once the caulk has fully cured, it gets painted over along with everything else, and that seam becomes part of one continuous, water-shedding surface instead of a gap the paint is just bridging over.
How prep quality changes how long the paint actually lasts
This is the part that's easy to miss when a paint estimate is being compared purely on price. A quality exterior paint job on a well-prepped surface commonly runs somewhere in the seven-to-ten-year range before it needs to be redone. Skip or rush the prep steps and that number can fall to three to five years, well under half the expected life. The same paint product can go on in both cases (CertaPro Painters, retrieved 2026-09-04). The paint isn't what changed between those two outcomes. What changed is whether it had a clean, sanded, primed surface to actually bond to.
That gap is also where a "cheaper" quote can end up costing more over time. A bid that skips scraping loose paint, sanding glossy trim, or priming bare wood will almost always come in lower and finish faster, because those are exactly the labour hours it's cutting. The paint on that job looks identical to a properly prepped job on the day it's finished. The difference shows up two or three years later, when one house needs touch-ups at the seams and the other doesn't.
If you're weighing how much time prep adds to a project timeline against how much longer the paint job will last for it, our post on how long a full interior paint job actually takes breaks down where those prep hours go on a typical room-by-room schedule. Proper prep front-loads time into the project; it doesn't add time nobody planned for.
What good prep looks like on the job, by service
We treat prep as the part of the estimate that determines whether a homeowner is paying for a paint job that lasts a season or one that lasts most of a decade. On an exterior repaint, that means scraping and sanding failing paint back to a sound edge, spot-priming bare wood, and caulking every trim and siding joint before the first exterior coat goes on. That applies whether it's exterior painting in Niagara Falls on a lakefront property taking on more wind-driven rain than most, or a straightforward two-storey repaint further inland. On interior work, it means the same sequence scaled down: washing kitchen and bathroom walls that have years of grease or steam on them, sanding gloss trim dull, and priming any patched drywall before rollers come out. That's the kind of walkthrough we do on every painting contractor job in Kitchener before quoting a number. On older housing stock, especially common through painting projects in Hamilton, a lot of trim and siding is carrying multiple past paint layers. There, the prep conversation upfront is usually about how many of those old layers are still sound enough to paint over versus how many need to come off first.
None of that changes what colour goes on the wall. It changes whether the homeowner is repainting that wall again in three years or in ten.
Timing prep around the rest of the project
Prep work doesn't happen in isolation from the rest of a renovation schedule. If you're planning exterior work, the best season to paint the exterior of an Ontario home covers why temperature and humidity windows matter as much for prep, cleaning and drying time especially, as they do for the paint itself curing properly. And if painting is one piece of a larger flooring-and-paint refresh, our flooring and interior painting guide for Ontario homes covers how those two trades typically sequence on the same project so prep dust from one doesn't land on wet paint from the other.
Frequently asked questions
Do I really need to prime if I'm painting a similar colour over the old one?
Colour match doesn't change whether the surface needs priming. Primer is about surface bonding, not colour coverage. If the surface is bare, patched, or glossy, it needs primer regardless of whether the new colour is close to the old one. If the existing paint is sound, clean, and not glossy, a same-family colour change can often skip a full primer coat, but that's a decision based on the surface condition, not the colour.
How long should I wait between cleaning a surface and painting it?
Long enough for it to be fully, visibly dry, not just dry to the touch. Exterior walls after washing typically need at least 24 hours in good drying weather before paint goes on; damp masonry or siding can take longer depending on humidity and material. Painting over a surface that's still holding moisture traps that moisture under the new film, which is one of the more common causes of early blistering.
Is it worth sanding trim if I'm just going to prime it anyway?
Yes. Primer improves adhesion, but it doesn't replace the mechanical grip that sanding creates on a glossy surface. Skipping the sand step and relying on primer alone to bond to slick gloss trim is a common shortcut that shows up later as peeling at high-touch points like door edges and drawer fronts, the same failure mode as skipping primer altogether, just delayed.